


Some Easter (eggsellent) inkpad ideas...
I adore Easter, and I think even more so than previous years, we all need that little lift you get from celebrating the changing in seasons and gathering together (however small) for traditional festivities. The warmer weather, spring bulbs, and all that delicious food are always an irresistible sign of optimism for me.

Cress heads:
These little cress heads are so much fun. They’re a great way to get children into growing things, and drawing on the little faces is a fantastic activity to encourage your children to reflect on all different emotions. The cute fingerprints make the little heads look like friendly monsters! The cress visibly grows in days, much to the squeals of my girls and one of the best things about making the cress into hair is that you get to give it a hair cut! I painted the egg shells with a base coat of paint before giving them to the girls so that they had an even coloured base to work with. I used some chalk paint I had to hand, but you could use any acrylic paint you might have, or any sample pots of household paint. You could get the children to do it and equally you can just fingerprint straight onto the egg shells, however the vibrancy of the fingerprints will be dependant on the darkness of the eggshells.
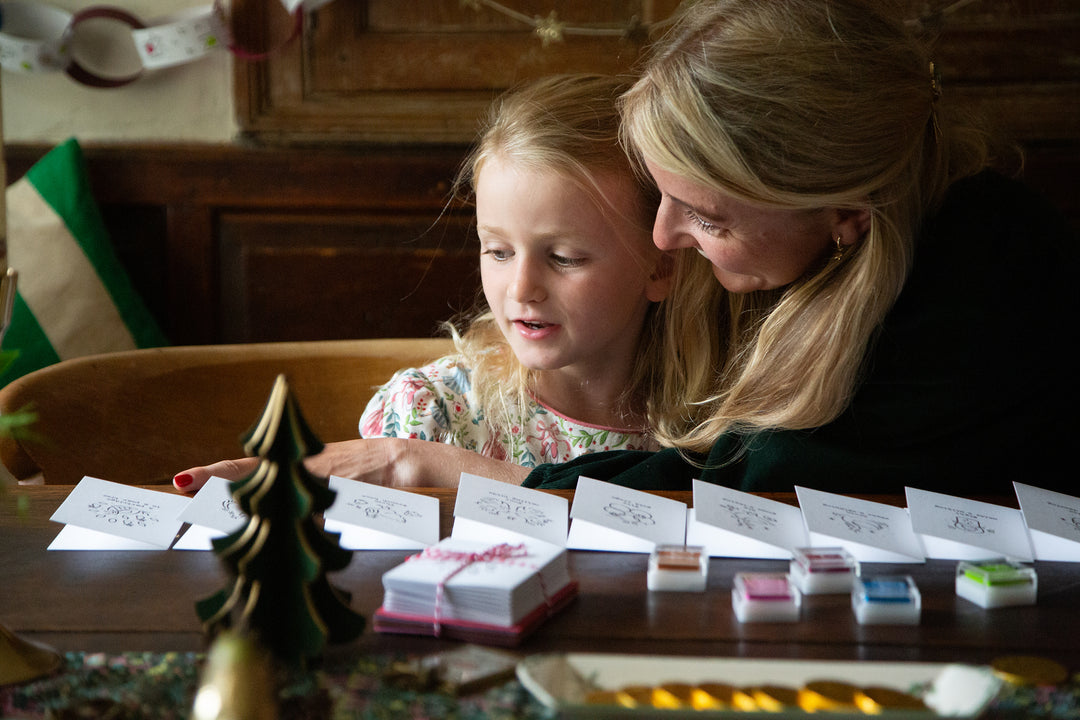
The season is also fantastic for crafting, I adore the bright zingy spring colours as shown in Casey’s beautiful Easter collection, and so couldn’t wait to delve into some crafty fun with the leftover inkpads from our fabulous festive fingerprint card making session.
Here are 3 simple ways to use your inkpads after card making this spring.
To make them you will need: some egg shells, some paint (optional), your inkpads, a permanent pen, some googly eyes, cotton wool and some cress seeds.
1. Wash out the egg shells and dry them. Paint the base of the egg shell (if required) - you may need 2 coats depending on the opacity of the paint, and leave to dry.
2.) Finger print onto the egg shells using the ink pads.
3.) Stick on some googly eyes (or draw them on) and then draw on the face using a permanent pen.
4.) Soak some cotton wool and then place some in each egg shell.
5.) Sprinkle on the cress seeds and watch them grow!
Granted it’s only the tiniest amount, but it’s a great way to get your child enthusiastic about adding some greenery to their plate. We’ve put the cress in the middle of the dining table and the girls love reaching over and snipping a few cress leaves to add to their lunch. It’s also a fantastic way to introduce your children to the culinary classic that is egg and cress sandwiches, they’re definitely all the tastier for growing the cress yourself!


Fingerprint wrapping paper
I adore this kind of activity, as your children get to have some fun fingerprinting on some plain white paper, and in turn you get to use it as wrapping paper for any up and coming birthdays or Easter treats. What I love about this, is however those lovely finger prints are printed it will always look wonderful when wrapped up, and it always gives your children such a confidence boost that they’ve made the paper encasing the precious gifts. Any paper works well for this, obviously the bigger the paper the better though so that you can wrap any size gift. It would be a great activity to lay out some large pieces of paper out with the ink pads and then just let everyone get stuck in!


And for my final super simple craft for using your leftover ink pads, I have a sweet little Easter egg garland. I love a garland, such an easy process to make a decoration for hanging on you mantelpiece, dressing your walls or simply adding a little seasonal cheer to your surroundings.
1.) You will need: paper, your festive fingerprint ink pads, a pen or pencil, some string - I used the sunshine yellow twine that was wrapped around my cards, scissors and some tape.
2.) Draw some egg shapes on paper. I used an egg shaped cookie cutter to draw around, but you could easily freehand an oval egg shape.
3.) Cut out and decorate by finger printing onto the eggs.
4.) Once the ink is dry turn over and line up on a flat surface - leave a little gap between each egg.
5.) Place the twine on top ensuring you leave some space either end of the twine for hanging and then using little bits of tape, stick the twine to the back of the eggs.
6.) Hang and admire!


I hope that you’ve enjoyed these little crafts to make with your left over inkpads, I would love to see
if you do them so please feel free to tag me in your pictures! Have a wonderful Easter!
Georgia Coote

Leave a comment